Do you want to learn how to time block in Outlook Calendar? Let us help you boost your productivity and workday planning using the time management technique many know and love.
In this article, we’ll show you how to time block your Outlook Calendar with Clockwise (aka, simplify the process for you) and how to do it manually, step-by-step.
How to streamline time blocking in your Outlook Calendar
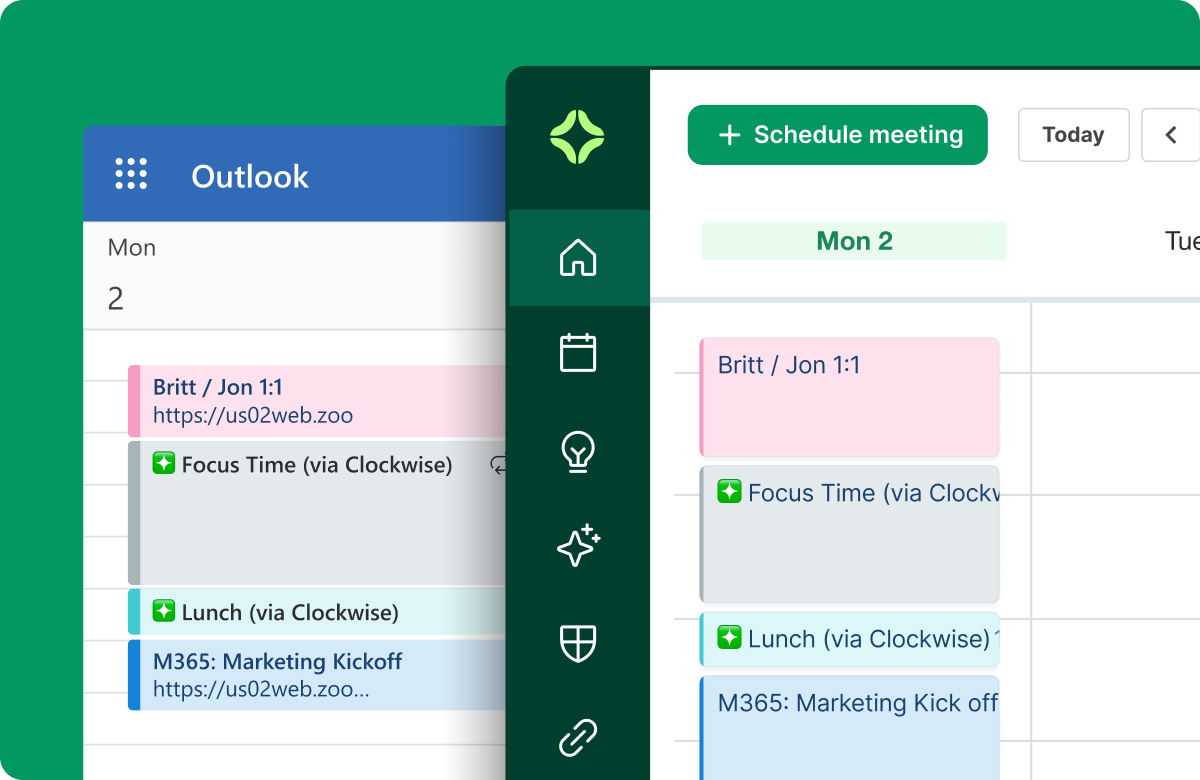
Time blocking in Outlook Calendar doesn’t have to be daunting or time-consuming (but don’t worry, if you prefer manual time blocking, we’ll cover that next). For the past seven years, Clockwise has helped tens of thousands of organizations streamline calendar management, and last year, we introduced Clockwise for Microsoft to extend this calendaring wizardry to Outlook users, too.
Clockwise can help teams using Outlook coordinate meetings across busy calendars, schedule meeting times at the best possible time to meet, and create extended blocks of time for deep work.

The best part about using Clockwise is that you can block your Outlook Calendar without manually adding your to-dos.
Here’s how to get started:
1. Sign up for Clockwise and connect your calendar.
Head to our sign-up page and connect your Microsoft Outlook calendar with a few quick clicks.
2. Set your meeting preferences (and flexibility).
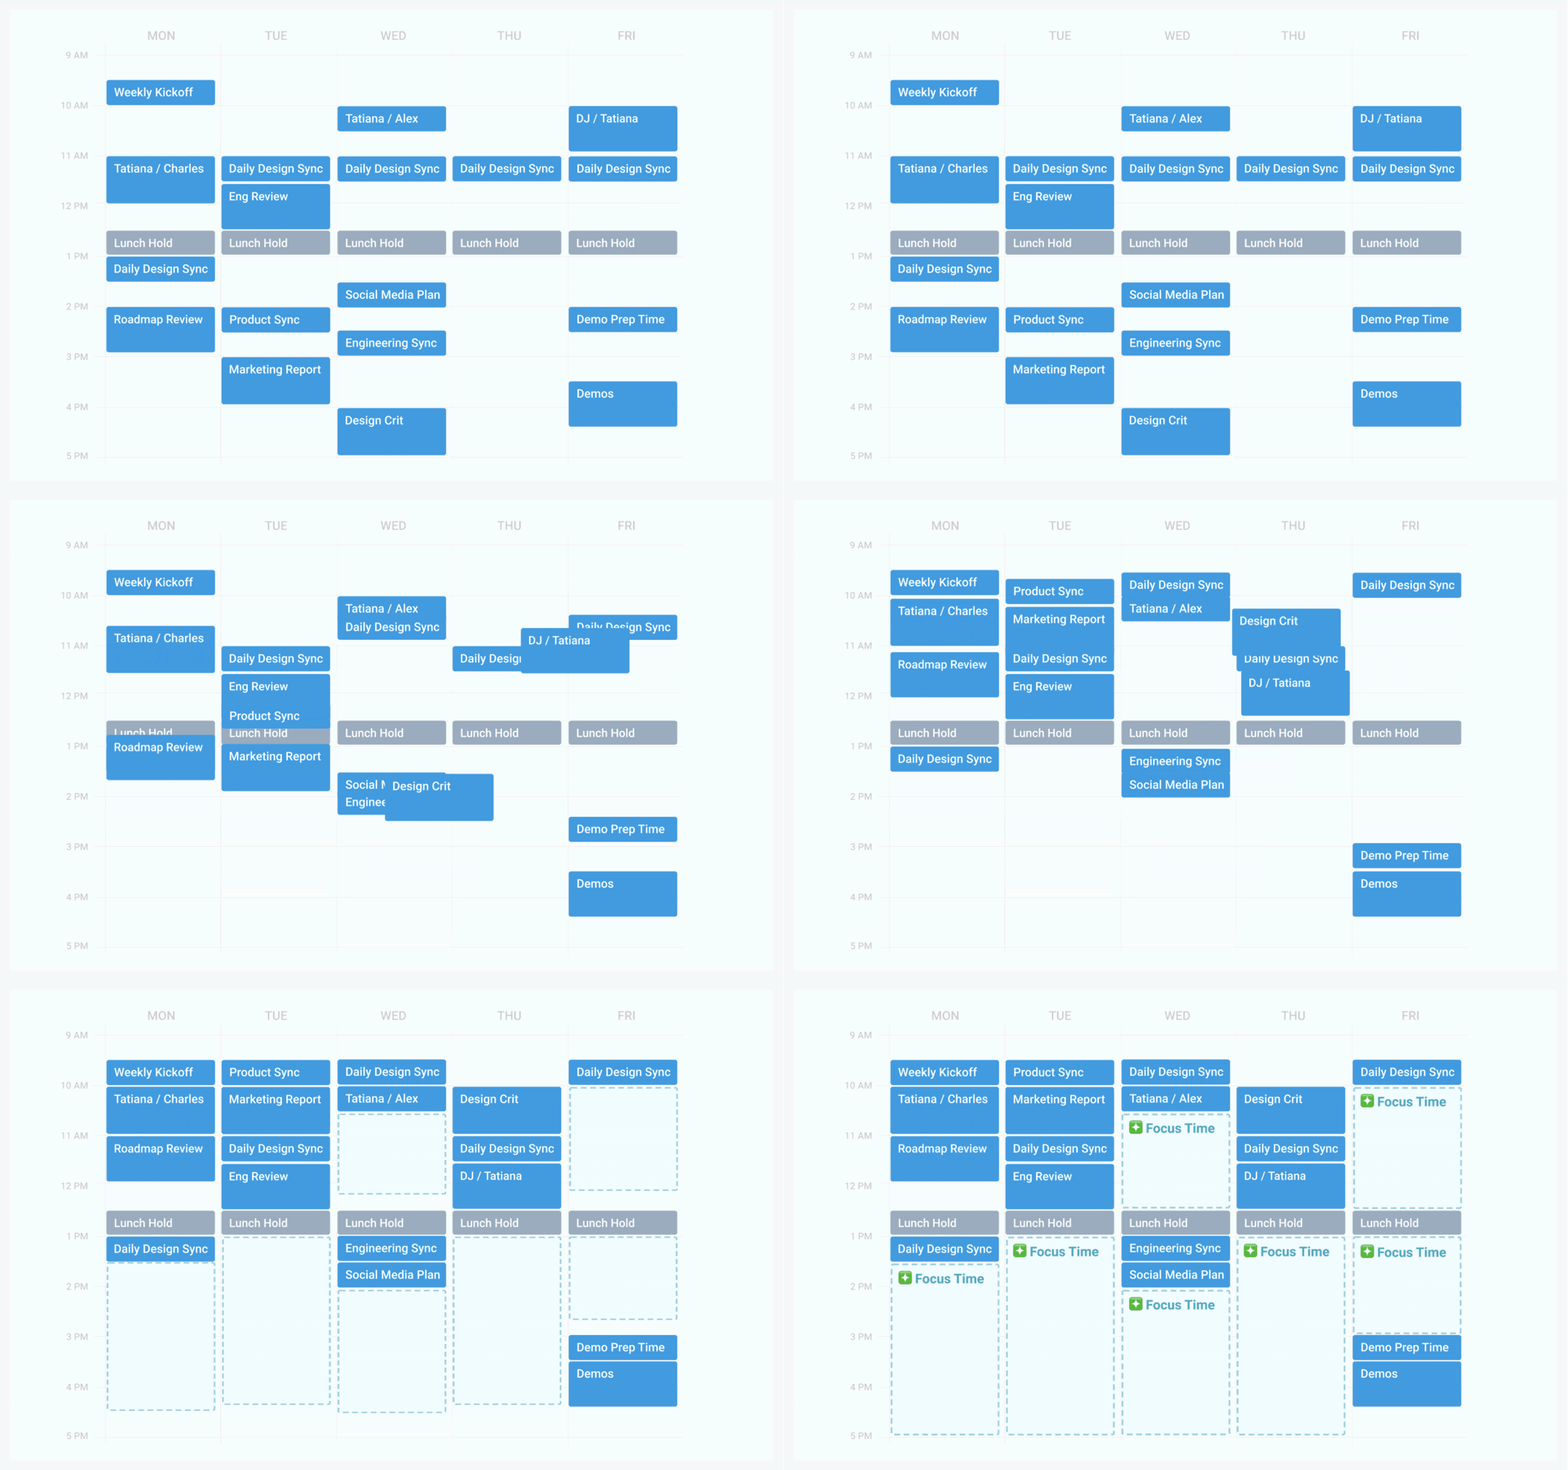
When you mark your meetings flexible, Clockwise automatically moves them to the optimal time, which can open up more space in your day for Focus Time (aka your lengthy to-do list). Clockwise only reschedules meetings that you mark as flexible (based on your preferences) and will never move them on the same day they occur.
3. Let Clockwise optimize your schedule.
Once you set your preferences, Clockwise will handle the rest! Say goodbye to meeting chaos and hello to more time for deep work.
How else does Clockwise help with time blocking?
Okay, so that takes care of meeting blocks, but what else? Well, with Clockwise, you can also:
- Leverage flexible holds to hold time for routine tasks (e.g., maybe you need to walk the dog every day around lunchtime, but have some flexibility to do so between 11:00 am and 1:00 pm)
- Preserve time for lunch (let Clockwise hold a block so you can step away and refuel)
- Automatically create smart meeting breaks in between long blocks of meetings (don’t forget to get up and stretch your legs and rest your eyes)
- Schedule tasks from Asana directly on your Outlook Calendar using the Asana + Clockwise integration
- Schedule a set number of Focus Time hours you need each week so you can focus on your to-do list without interruptions and distractions
- Use automatic color coding so you can quickly visualize your week at a glance (allowing you to quickly identify what your time blocks are for without much thought)
Before you know it, your calendar will be a timeblocked piece of art!

How to manually time block in Outlook Calendar
If you prefer to manually block your time in Outlook Calendar (don’t worry, we don’t judge), then you can follow these steps.
1. Open your Outlook Calendar and navigate to the current week.
If you use multiple Outlook Calendars, double-check to ensure you are the one you want to add time blocks to before getting started. It’s no fun to add your to-dos to the calendar only to realize they’re on the wrong one.
2. Click the “New event” button or drag your cursor over the time you want to block.
Both of these options will lead you to the same place, so it’s up to you to decide how you want to get there.
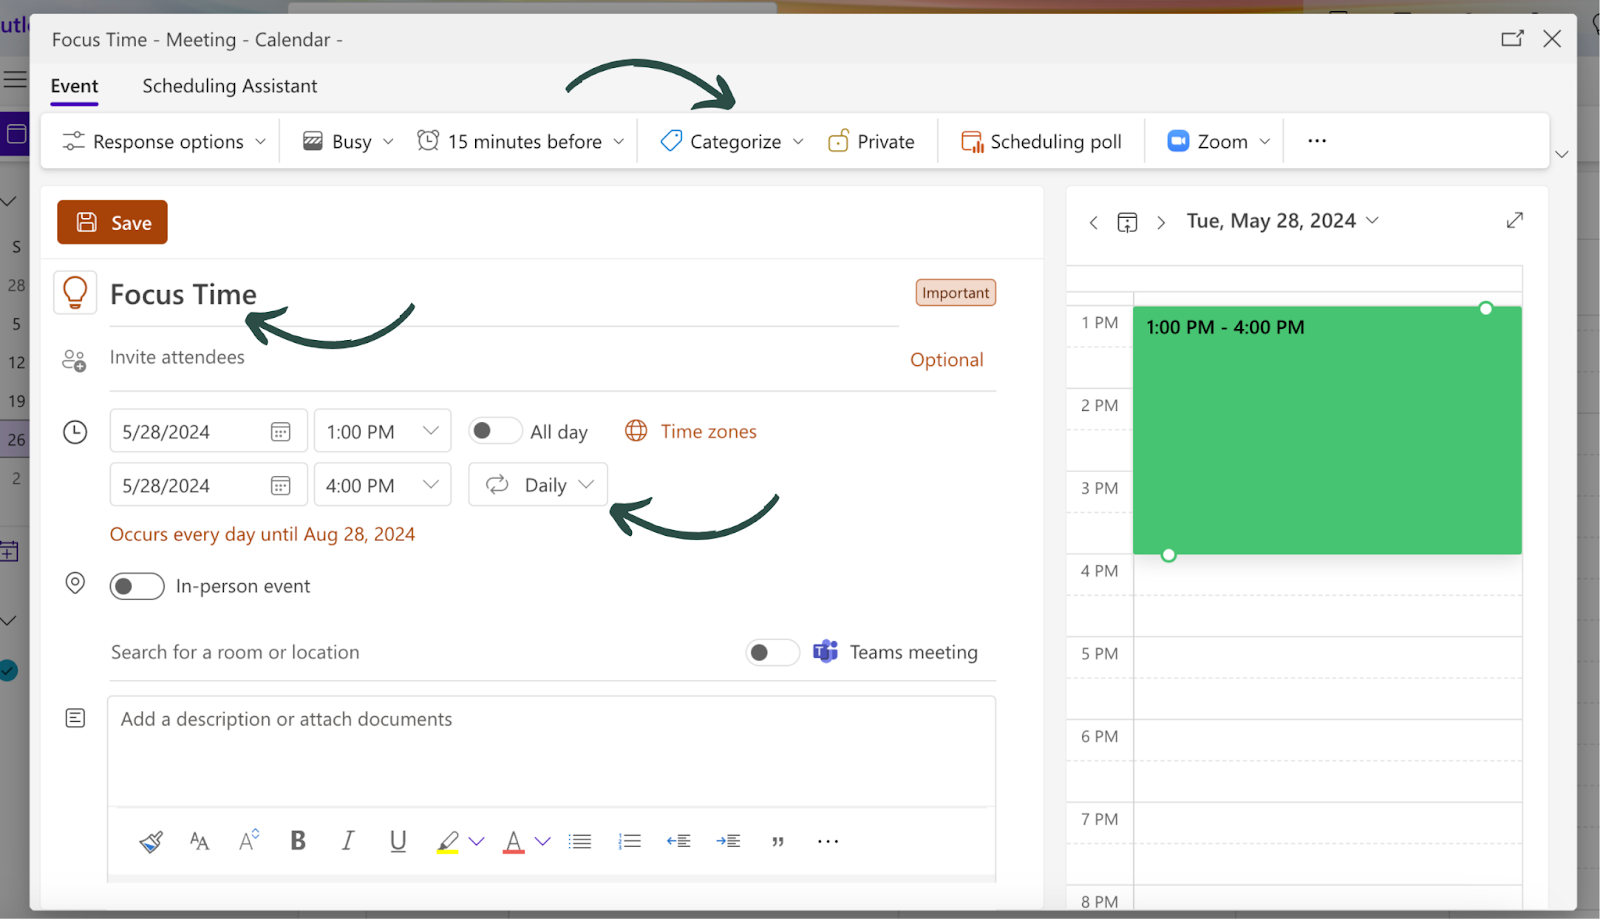
3. Fill in the details for your block of time.
Once you click the button or select the time slot, you can fill in all the details for your block of time.
Here are some tips to keep in mind as you do this:
- Add a clear and concise title (i.e., if you plan to use this time for a specific task, get specific here!)
- Set this calendar event on a recurring cadence if you prefer (e.g., if you want to block the first 30 minutes of your workday to drink your coffee and respond to unread emails, you can create the block once and set it to repeat daily)
- Add attachments and a description if applicable (consider adding any relevant documents, Asana tasks, or other information to help you orient yourself)
- You can choose an icon for your calendar hold (e.g., car for commute, checkmark for to-do list, etc.)
- Use the “Categorize” drop-down menu to choose a color for your time block
- Mark your block as “Private” if you don’t want to share your visibility with others

That’s it! Repeat this process to add as many blocks of time as you need to organize your to-do list and responsibilities.
Using your task list to block your time
There’s another way to time block in Outlook Calendar. You can create a to-do list next to your calendar in the sidebar and drag and drop tasks to schedule them accordingly. (You can manually enter your tasks or, if you receive a to-do via email, drag the email onto your task list and schedule it.)
Here’s how:
1. Open your Outlook Calendar and navigate to the current week.
If you use multiple Outlook Calendars, double-check to ensure you are the one you want to add time blocks to before getting started.
2. Open the My Day panel.
Click on the calendar and checkmark icon in the top right corner to open the sidebar panel. This may open the “Calendar” tab. If so, click the “To Do” tab next to it.

3. Add your tasks from your to-do list.
You may already have some tasks waiting for you here if you added them directly from emails you received. If you don’t have any tasks, quickly add them one by one to your to-do list here.
4. Drag and drop your tasks to create time blocks.
Now, drag and drop away! Slide your tasks over to your calendar and adjust the amount of time you need for each task accordingly. Easy.
Cheers to time-blocked days ahead
Jump on the time bocking train and organize your Microsoft Outlook Calendar in no time. Let Clockwise work some calendar magic for you, or manually add your tasks from your to-do list to your calendar.

.jpeg)
.gif)
.png)


